Please ignore my terrible nail varnish, it is being repaired tonight :)

Showing posts with label tutorial. Show all posts
Showing posts with label tutorial. Show all posts
Monday, 13 January 2014
How to fold a zine
I have just made this quick video to show you how to fold a zine especially if you download my ones you need to know how it goes, also the decorated side should be on the outside so when you fold the blank side is on the inside. I may make a better video but thought this would help for now.
Please ignore my terrible nail varnish, it is being repaired tonight :)
Please ignore my terrible nail varnish, it is being repaired tonight :)
Wednesday, 1 January 2014
First post of the year !
Welcome 2014 I've been waiting for you ;) !! hope you all had fun wherever you are in the world, I have only seen our firework display in London but it was bloody good :)
Ok so towards the end of last year I got interested again in Zines which is a small self made publication, that lots of people do as collectables so I am going to really try and do one every 1-2 weeks on something different, some are mini tutorials and others are just random pictures, drawings etc but it's fun because I can do it on the train and at lunch times too.
So my first one you can download, print out and fold yourself...keep a little collection. And some I might sell in my shop in a little gift pack :).
How to make a mini sock horse :)
Just drag the picture from here to your desk top, don't click on it first, just drag this image from here then you can increase the image size to A4 which is a UK standard size paper google the size dimentions if you don't have that size option, I am going to add it to my facebook pages too and website www.thelittlemisscrafty.com but if you are still having trouble then leave a message and I will email it to you...
**NOTE **
To keep the exclusiveness of zines, this will only be available until 15th January 2014 !!! Then I will remove it from all of my sites.
This zine is my own design and creation, please do not share it or add it to any other sites, it is not for resale or to be used in any sale whether digital or printed etc., you may mention it or add a link to my website. copyright of Juliet Marsh


I have used 6x6 inch paper because I have lots of scrapbook paper sets in this size but you can use any size square you like but I suggest an 8x8 inch is probably the biggest to use as any bigger might
not hold it's shape...

1. Fold paper in half and measure equal lines from the crease to the outside edges leaving a gap of at least 2cm at the outer edges (so you don't cut all the way across) and each line should be approx 1.5cm or 15mm apart.
 2. Using sharp scissors or a craft knife cut across each line you have drawn.
 3. Double sided paper looks really nice instead of just one side unless you are going for a less complicated look. See how the strips are cut leaving the outer edge...

5. Take a piece of tissue paper as it is very lightweight, the same size as the lantern piece and make slim cuts almost to the top leaving 1cm at the top.

6. Glue the top of the tissue to the bottom of the card (on the inside)

7. Bring the edges together over lapping the side outer edges and fix with strong pva or double sided tape and add a staple to the top..

8. And the bottom making sure you are careful to not scrunch up the tassels.

9. Firmly but gently squash the lantern down so that the strips separate and it looks like a lantern.

10. Make lots.....

11. Punch small holes, one on either side at the top of each lantern..

12. Using some nice string, wool, cord or ribbon etc string on all your lanterns ( you can fix in place with knotting after stringing each one or gluing inside etc)

And there you are :) make lots of strings in different sizes, colours, using metallic wrap, small bells for a nice tinkling sound...

Ok so towards the end of last year I got interested again in Zines which is a small self made publication, that lots of people do as collectables so I am going to really try and do one every 1-2 weeks on something different, some are mini tutorials and others are just random pictures, drawings etc but it's fun because I can do it on the train and at lunch times too.
So my first one you can download, print out and fold yourself...keep a little collection. And some I might sell in my shop in a little gift pack :).
How to make a mini sock horse :)
Just drag the picture from here to your desk top, don't click on it first, just drag this image from here then you can increase the image size to A4 which is a UK standard size paper google the size dimentions if you don't have that size option, I am going to add it to my facebook pages too and website www.thelittlemisscrafty.com but if you are still having trouble then leave a message and I will email it to you...
**NOTE **
To keep the exclusiveness of zines, this will only be available until 15th January 2014 !!! Then I will remove it from all of my sites.
This zine is my own design and creation, please do not share it or add it to any other sites, it is not for resale or to be used in any sale whether digital or printed etc., you may mention it or add a link to my website. copyright of Juliet Marsh


I am also going to share a little 'how to' on paper lanterns with tassels, it was done for Christmas as you can tell by the paper but alas I didn't upload in time.. however change the paper and you can make and use them all year round for decorating the house or for a party ...
I have used 6x6 inch paper because I have lots of scrapbook paper sets in this size but you can use any size square you like but I suggest an 8x8 inch is probably the biggest to use as any bigger might
not hold it's shape...

1. Fold paper in half and measure equal lines from the crease to the outside edges leaving a gap of at least 2cm at the outer edges (so you don't cut all the way across) and each line should be approx 1.5cm or 15mm apart.


5. Take a piece of tissue paper as it is very lightweight, the same size as the lantern piece and make slim cuts almost to the top leaving 1cm at the top.

6. Glue the top of the tissue to the bottom of the card (on the inside)

7. Bring the edges together over lapping the side outer edges and fix with strong pva or double sided tape and add a staple to the top..

8. And the bottom making sure you are careful to not scrunch up the tassels.

9. Firmly but gently squash the lantern down so that the strips separate and it looks like a lantern.

10. Make lots.....

11. Punch small holes, one on either side at the top of each lantern..

12. Using some nice string, wool, cord or ribbon etc string on all your lanterns ( you can fix in place with knotting after stringing each one or gluing inside etc)

And there you are :) make lots of strings in different sizes, colours, using metallic wrap, small bells for a nice tinkling sound...

Let me know how you get on and post the pics on my facebook page,
Have fun !
Juliet x
Sunday, 22 September 2013
I'm back !
Wow, I can't believe how long it's been since my last post, but I'm back :)
I have been quite busy in general and had a little bout of sickness recently which put me out of action for a little while but here are some pictures of what I have been up to in the last few weeks.
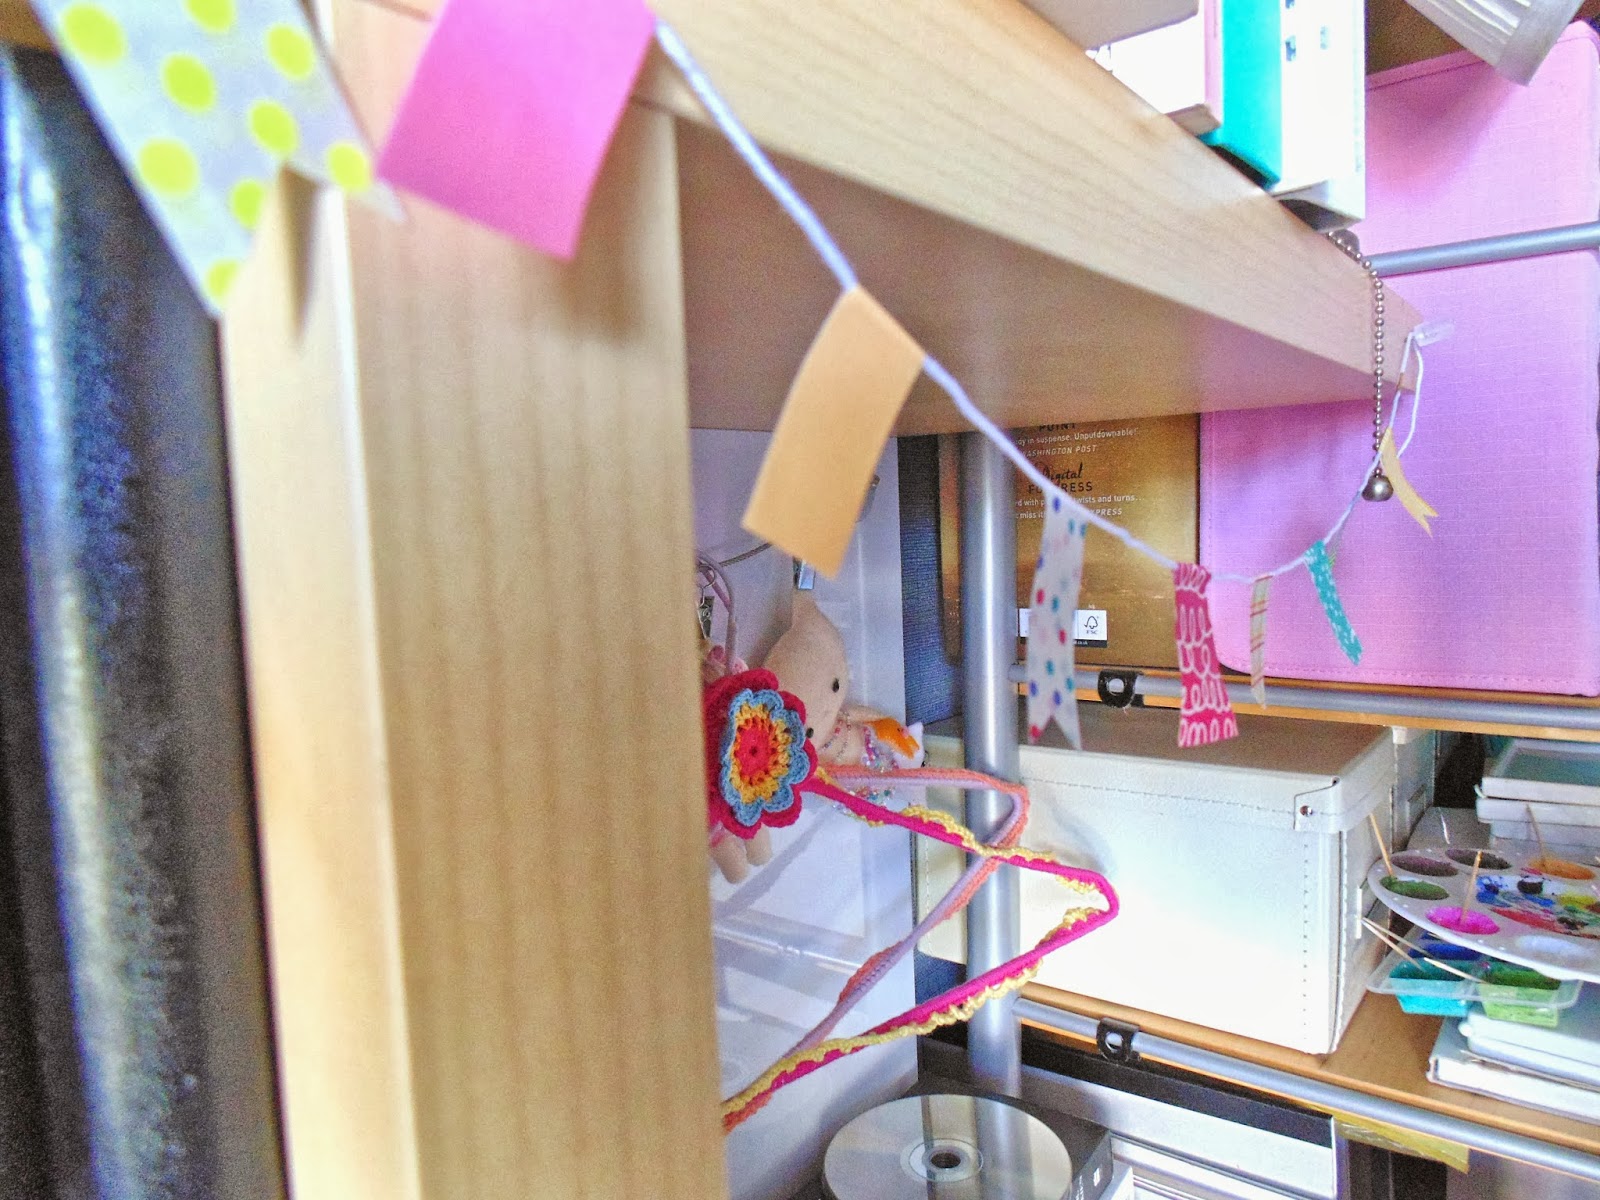
The first ones are of a washi tape banner and then some little cardboard houses that have an inside box to keep trinkets and treasures in ..


I have been quite busy in general and had a little bout of sickness recently which put me out of action for a little while but here are some pictures of what I have been up to in the last few weeks.
The first ones are of a washi tape banner and then some little cardboard houses that have an inside box to keep trinkets and treasures in ..


I also got a bit carried away one day making my own bakers twine because it is quite expensive and I wanted specific colours and colours that were brighter, I will do a quick tutorial on it this week as it is really easy :)


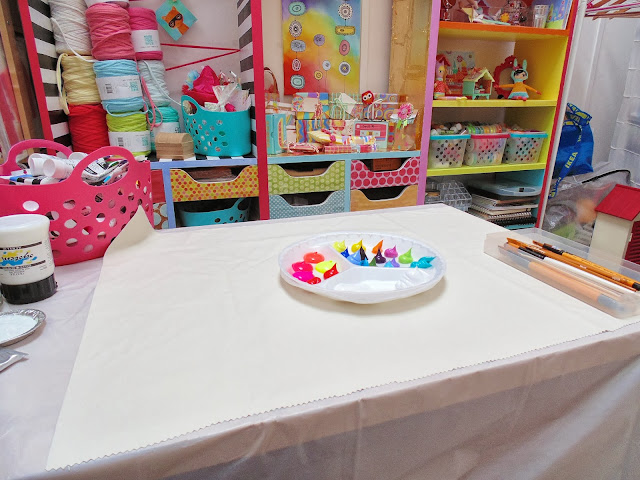
And lastly here are some pictures of decorating a new journal and a piece of fabric with fabulous bright paints in my studio :) When finished I am going to turn the fabric into cute tote bags.


I also bought a fabulous screen printing kit yesterday and I am so excited to use it, I haven't done any printing since college, I am going to make some bags to start with and then t-shirts and posters etc yeay !!
Subscribe to:
Posts (Atom)